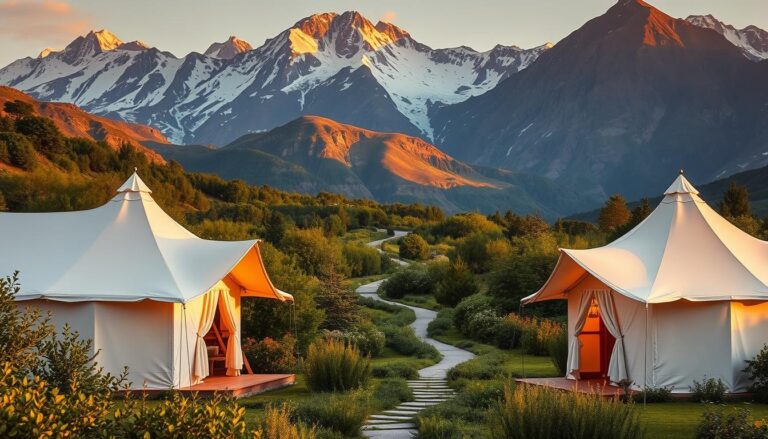
Tent Setup Tips to Make Your Next Camping Trip Stress-Free
Spending years camping, I’ve learned how bad a bad tent setup can be. Whether it’s a dome, tunnel, or A-frame, the right tips make it easy. This guide will show you how to pick the best spot, use your gear right, and avoid mistakes that can ruin your trip.
Key Takeaways
- Picking a flat, dry site is the first step in smart tent setup.
- Tools like stakes and guylines matter for stability.
- Understanding pole systems and rainfly designs prevents leaks.
- Learning step-by-step methods cuts setup time and stress.
- Regular checks for damage keep your tent ready for future trips.
Choose the Right Location for Your Tent
Deciding where to set up your tent is key to a good camping trip. A bad spot can cause leaks, instability, or even danger. Start by checking the terrain to avoid common mistakes.
Look for Flat and Dry Ground
It’s important to find a smooth, stable area. Steer clear of slopes or rocky spots that could make poles unstable. Dig your fingers into the soil to check for mud, which can let water in.
Look for high spots to avoid flood zones. Test the ground by putting a boot in it. If it sinks, find a firmer spot.
Consider Wind Direction
Wind can flip tents if you don’t plan ahead. Place the tent’s narrow side into the wind to reduce drag. Use a compass or watch grass to find the wind direction.
Angle the door away from the wind to prevent damage. Heavy-duty guylines help keep the tent stable against strong winds.
Assess Nearby Hazards
- Keep at least 100 feet from dead trees that might snap during storms.
- Avoid camping beneath rock overhangs prone to falling debris.
- Check for beehives, ant nests, or animal trails near your site.
Look 50 yards around for hazards like unstable boulders or shallow creek beds that swell in rain.
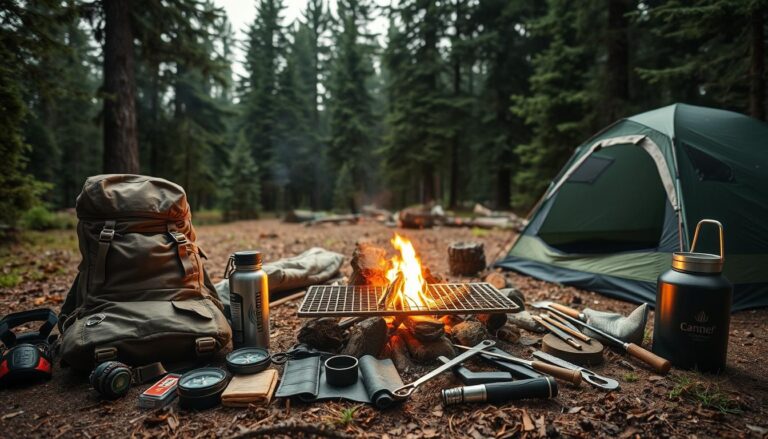
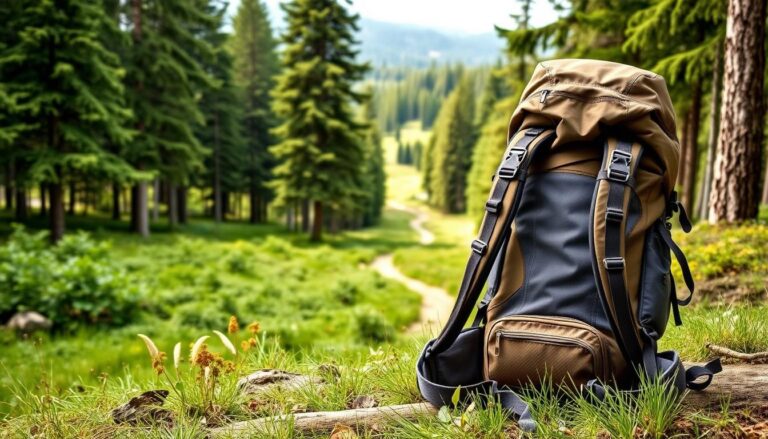
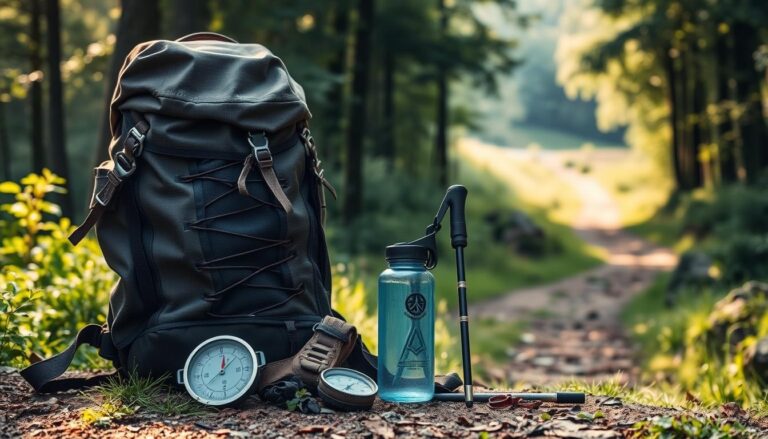
Essential Tools and Supplies
Before you pitch a tent, make sure you have the right gear. The right tools make setting up your tent easy and avoid any last-minute problems.
Tent Stakes and Guylines
Good stakes and guylines keep your tent stable, even in windy or uneven places. For soft soil, use lightweight aluminum stakes. For rocky areas, MSR Groundhog stakes are a better choice.
Choose durable nylon guylines that can handle strong winds. They should be non-elastic to prevent sagging. Cheap plastic stakes can bend under pressure, causing problems.
Ground Tarp for Added Protection
Use a waterproof ground tarp under your tent to keep it dry and protect it from sharp objects. A 7×9-foot tarp with strong seams, like Hennessy Expert Tarp, is a good choice. Make sure to overlap the edges by 6 inches to keep moisture out.
This step is key to keeping your tent in good shape, especially after a rainy trip.
Multi-tool or Hammer
A multi-tool with a pry bar or a collapsible mallet makes driving stakes easier. Tools like Gerber Dime Multi-Tool are easy to carry. A hammer helps drive stakes into hard ground without straining your hands.
These tools save you time and effort, especially when dealing with tough soil.
Understanding Your Tent Components
Before you start setting up your tent, get to know each part well. A tent assembly guide begins here. Every clip, pole, and seam has a specific role. Skipping this step can lead to a shaky shelter. Let’s explore the key parts to help you set up your tent like a pro.

Familiarize Yourself with Pole Configurations
Poles are the backbone of your tent. Brands like MSR and Big Agnes color-code their poles for easy assembly. Make sure to align the joints correctly to avoid a weak structure. Always refer to the tent assembly guide diagrams for accuracy.
Identify Tent Fly and Rainfly Functions
- Rainfly keeps rain out. Attach it securely but avoid over-tightening to prevent tears.
- Seam alignment is crucial. Overlap the edges of the body and fly by 2-3 inches to keep rain out. REI suggests this for best results.
- Pro tip: Use stakes to tighten the fly at the bottom. A loose fly can flap in the wind and tear.
Check Zippers and Windows
Zippers are a weak spot. Test them fully open and closed. Stiff zippers can jam during assembly. Mesh windows need to seal well when closed. Look for strong stitching on North Face tents for durability. A stuck zipper can ruin your setup. Always carry a repair kit for emergencies.
Step-by-Step Tent Setup Guide
Learning to pitch a tent starts with being organized. Begin by laying your tent flat on the ground. Unroll all parts to avoid getting confused later. Place poles, stakes, and rainfly where you can easily reach them.
Start by putting together the tent poles. Slide connectors into sleeves as shown in the diagrams. For dome tents, make the hoop first. Tunnel tents need you to line up pole sections end-to-end. If handles are slippery, wear gloves.
- Secure corners with steel stakes at a 45-degree angle from the tent. Hammer them down until the head is even with the ground.
- Put on the rainfly once the body is set up. Start with the vestibules, then clip the attachment points at the door.
- Check the seams by pulling on the connections. Make sure pole sleeves are fully in to stop flapping in the wind.
Tip: Use a groundsheet first if your tent is 4-season. For ultralight tents, find pole storage pockets before setting up. Always check zippers on doors and vents to make sure they work smoothly.
By following these tips, your tent will stay strong in different weather. Practice setting up your tent on your lawn before going into the wilderness. This helps you set it up quickly and efficiently.
Tips for Avoiding Common Mistakes
Learning quick tent setup techniques means avoiding common mistakes. Even experienced campers can make errors. These tips help you catch and fix problems early, making sure your tent is always stable.
Ensure Proper Tent Orientation
Make sure the tent’s door faces the wind or away from steep slopes. This keeps it stable. Use natural landmarks to help place the tent before you stake it down.
Avoid Overstretching the Fabric
Don’t pull stakes too tight, as it can warp poles and tear fabric. Keep the tension even but not too tight. If fabric sags, it’s okay. But if it’s too tight, it will tear.
Test the tightness by gently pulling on the stakes. It should be snug but not strained.
Double-Check the Setup Before Leaving
Before you leave, check stakes, zippers, and seams. Loose guylines or unzipped vents are weak spots. Do a quick walk-around to make sure everything is secure and right.
Maintenance Tips for a Long-Lasting Tent
Keeping your tent in good shape means it will last for years. Start by making a tent setup checklist that covers care routines. Regular maintenance stops damage and makes it last longer.
A good tent setup checklist should include these steps after each use:
- Clean the fabric with mild soap. Rinse well and dry it completely before storing.
- Store it in a cool, dry place. Don’t fold it tightly; let it breathe.
- Check seams, zippers, and poles every month. Replace any worn parts right away.
Make sure your tent setup checklist includes these:
- Check stakes for rust or bending before packing
- Use a mesh storage bag to keep dust away
- Apply waterproofing treatments every year
Regular checks and proper storage are crucial. Follow these steps to avoid expensive fixes and enjoy your tent for many seasons.
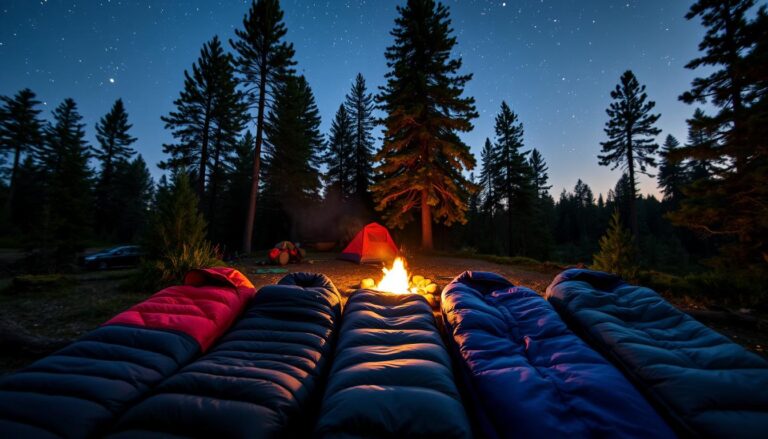
Dealing with Challenging Weather Conditions
Even the best efficient tent setup can falter without weather-ready adjustments. Prioritizing adaptability ensures your shelter stays secure when storms roll in or winds pick up.
Prepare for Rain with Proper Sealing
Waterproofing starts with sealing seams using seam tape. Place the tent’s rainfly taut to shed rain effectively. Add a ground tarp underneath to block rising moisture. Test seams before trips to avoid leaks.
Ventilate to Prevent Condensation
Condensation forms when warm air inside meets cold tent fabric. Open mesh vents and roof flaps to circulate air. Use a vestibule for gear storage to keep airflow unobstructed. Avoid closing all vents entirely, even in rain.
Anchor Your Tent in Windy Conditions
Secure corners with heavy-duty stakes angled away from the tent. Add guy lines for extra tension. Use sandbags or additional weights if stakes slip. Reinforce the downwind side first to counteract gusts.
Suggestions for Larger Camping Groups
When camping with a big group, making the most of space is crucial. These camping hacks help keep everyone comfy and organized. Let’s explore ways to set up for groups.
Choose a Spacious Tent Design
I suggest picking tents for 4–6+ people. Go for dome or cabin styles with many doors for easy entry. A hub-and-spoke design makes setting up easier. Also, look for tents with extra vestibules to keep things tidy.
Set Up Common Areas for Group Comfort
- Create shaded lounging zones using lightweight canopies or tarps.
- Position seating in a circle to encourage conversation and shared activities.
- Designate a gear zone near the tent entrance for shared items like backpacks and footwear.
Plan Efficiently for Food Preparation
Set up a cooking area 50 feet from where you sleep. Use collapsible tables for more prep space. Store cooking gear in waterproof bins. Always hang food in bear-resistant containers at least 100 yards from tents to avoid wildlife encounters.
Safety Tips for Tent Setup
Setting up your campsite safely begins with careful choices. These steps help protect you from nature’s surprises and wildlife.

Stay Clear of Trees and Rocks
- Avoid areas with dead branches overhead or loose rocks above the site
- Keep at least 20 feet from tree trunks to prevent limb falls during storms
- Never camp under cliffs or rock formations prone to shifting
Follow Fire Safety Guidelines
Keep campfires 15+ feet from tents. Use designated fire rings whenever possible. Always extinguish flames completely before sleeping: douse with water until no hissing sounds remain. Never leave fires unattended.
Secure Your Tent Against Wildlife Encounters
- Store food in bear-proof containers at least 100 feet from your tent
- Seal tent zippers and mesh vents tightly each evening
- Avoid camping near animal tracks or water sources to minimize attractants
Proper planning prevents accidents. Follow these steps to make your camping trip safe and fun.
Experiment with Different Tent Designs
Trying new tent styles can change how you camp. Pop-up tents are quick to set up, while traditional ones offer more control. Let’s look at options that fit your adventure style.
Pop-Up vs. Traditional Tents
Pop-up tents, like the Coleman Quick Pitch, are fast but might be smaller. Traditional tents from Eureka or Big Agnes let you place them for better stability. Think about how fast you want to set up versus how much control you need.
4-Season Tents for All-Weather Use
Heavy-duty North Face Stormbreak or MSR Hubba Hubba tents can handle snow, wind, and cold. They have strong poles and waterproof seams, great for winter or unpredictable weather.
Ultralight Options for Backpacking
Ultralight tents, such as the Nemo Hornet or Hyperlight Adventure, are light but strong. Some are under 2 lbs, perfect for long hikes where weight is key.
Try these styles on small trips first. See how they handle terrain and weather. Sharing your experiences helps others choose. Adventure smart—your next tent could be a game-changer.
Conclusion: Enjoy Your Camping Experience
Learning how to set up and maintain your tent makes camping safer and more fun. Every tip, from picking the right spot to securing the tent, helps you face any challenge. Now, use these steps to turn your knowledge into exciting adventures.
Embrace the Outdoors with Confidence
Practice makes you more confident. Before your next camping trip, go over the setup steps and check your gear. Keeping your tent in good shape means it will last longer and be reliable. A well-prepared tent is your safe haven in bad weather and your cozy home in good weather.
Share Your Tent Setup Success Stories
Join outdoor groups like REI’s forums or share your tips on social media. Talking about your experiences and solutions helps others and builds a stronger outdoor community. Show how the right setup and gear made your adventures great.
Keep Learning and Improving for Future Trips
Try out new gear like 4-season tents or ultralight backpacking setups. Follow brands like MSR or The North Face for the latest. Go to workshops or read guides to get better. Every trip is a chance to learn and improve as you try new things.