Complete Backpacking Gear Guide for Beginners and Pros
I’ve tested backpacking gear in real conditions and seen how it changes outdoor trips. This guide covers everything from basic camping essentials to advanced ultralight systems. It uses insights from REI’s product reviews and expert advice.
Whether you’re packing for a weekend hike or a multi-day trek, the right gear is key. It ensures safety and comfort. My recommendations are based on practical experience and proven brands like Osprey and Marmot.
Key Takeaways
- Proper backpacking gear balances performance, weight, and cost for any adventure.
- Beginners and experts alike benefit from gear tested in real-world conditions by trusted brands.
- Lightweight options from brands like REI and Osprey improve mobility without sacrificing safety.
- Seasonal changes and terrain type require tailored gear selections for optimal performance.
- Maintaining equipment extends its lifespan and enhances reliability on the trail.
Understanding the Basics of Backpacking Gear
Backpacking gear is key to a great outdoor adventure. Camping equipment is more than just stuff—it’s a system to keep you safe and comfy. It includes everything from tents to stoves, each with its own role.
What is Backpacking Gear?
Backpacking gear is all you need to survive and enjoy the outdoors. It includes:
- Shelter: Tents like the MSR Hubba Hubba or Big Agnes Copper Spur
- Sleep systems: Mummy-style sleeping bags and insulated pads
- Cooking tools: Jetboil stoves and lightweight cooksets
- Camping equipment also covers first-aid kits, headlamps, and navigation devices
Importance of Choosing the Right Gear
My trips showed me that bad gear choices can be a problem. A 4-season tent is vital in winter, while a 3-season one is better for warmer weather. Your gear should match:
- Weather conditions: Waterproof fabrics for rainy areas
- Duration: Lightweight options for long hikes
- Personal needs: More insulation for cold places
Choosing quality over cheap saves time and stress. The right camping equipment works best when you need it most.
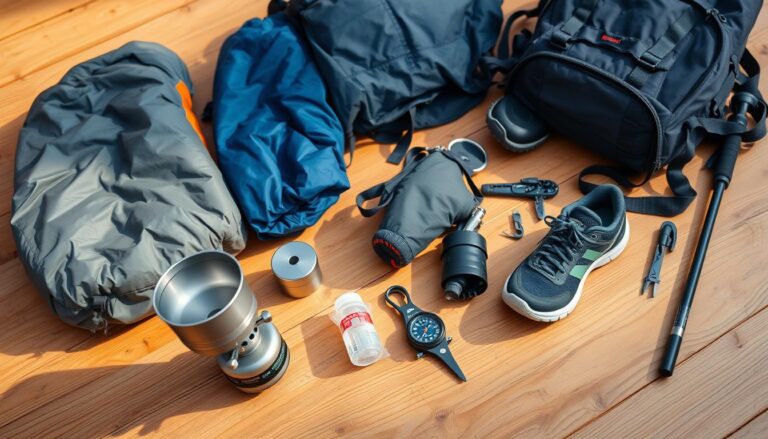
Essential Backpacking Gear for Beginners
When you start backpacking, you need the right gear. You’ll need a backpack, shelter, and cooking tools. Each item is key for comfort and safety on the trail. Here’s what to pick for your first trips.
Choosing Your First Backpack
Choosing the right backpack is important. Look for one with padded straps and a breathable back. For weekend trips, a 30–50-liter backpack is best. Brands like Osprey and Deuter have great options with adjustable hip belts.
Make sure to try it on in a store. This ensures it’s comfy for long hikes.
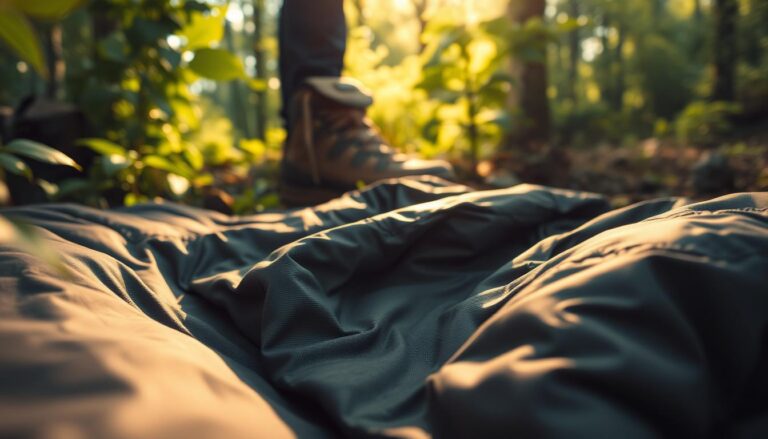
Tent, Sleeping Bag, and Pad Essentials
For a good tent, consider the REI Co-op Half Dome SL. It’s a great mix of space and weight. Look for one with a waterproof fly sheet and easy setup.
For sleeping, pair a Therm-a-Rest NeoAir pad with a sleeping bag. Down bags are light, but synthetic ones stay warm if wet.
- Tent: Choose one with a waterproof fly sheet and easy setup. The REI Co-op Half Dome SL is a good choice.
- Sleeping Bag: Pick one that fits your climate. Down bags are light, but synthetic ones stay warm if wet.
- Sleeping Pad: The Therm-a-Rest NeoAir line is warm and comfy. Avoid very light pads that lack support.
Cooking Equipment and Utensils
For camping cooking equipment, a light cookset like Jetboil Flash is great. Carry a spork, reusable containers, and a wind-resistant stove. My list includes a 1-liter pot and collapsible utensils to save weight.
Starting with these basics is key. Focus on durability and function to avoid problems on the trail. Begin simple and add more as you get more experience.
Advanced Gear Recommendations for Pros
For seasoned hikers, the right gear is key. It must be both innovative and reliable. My tests show that top hiking supplies can make trails safer and more efficient. Here, we explore essential items for advanced hikers.
Lightweight vs. Traditional Gear
Ultralight gear is great for saving weight but needs careful material choices. I’ve compared Zpacks’ ultralight tents with traditional 4-season models. Ultralights save ounces, but REI’s Mountain 25 backpack is durable. Your choice depends on the terrain and your experience.
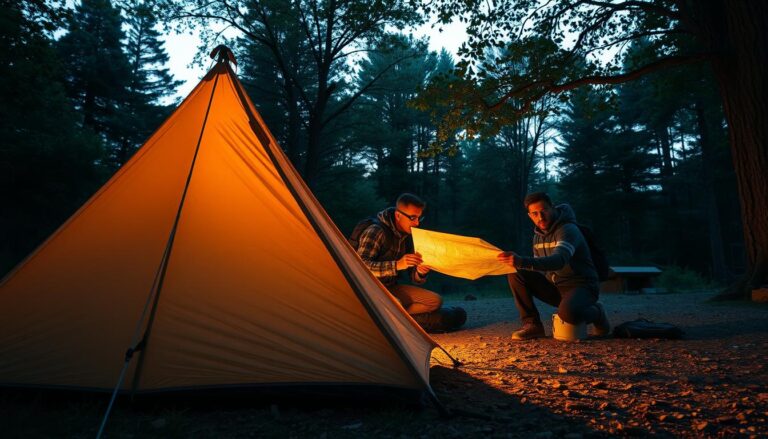
Navigational Tools for Serious Hikers
- GPS units like Garmin inReach for real-time tracking
- Topographic maps laminated for rugged use
- Compass and altimeter hybrids for elevation data
High-Performance Clothing and Footwear
Merrell Moab boots and Patagonia’s Houdini jacket are made for tough conditions. ExOfficio’s moisture-wicking base layers prevent chafing on long hikes. Outdoor Research’s waterproof pants handle sudden weather changes without bulk. These are the core items for any pro’s gear.
Key Features to Look for in a Backpack
Choosing the right backpack is all about understanding its core features. Every detail, from zippers to straps, affects comfort. Here’s what you need to know when picking your next pack.
Volume and Capacity
Backpack capacity depends on how long you’ll be out. For day hikes, 20-30L is enough. But for longer trips, you’ll need 50-80L. REI has guides for sizing based on your trip.
Look for external pockets for quick access to snacks or rain gear.
- Day trips: 20-30L
- Weekend trips: 40-60L
- Long trips: 65-80L+
Fit and Adjustability
A bad fit can make hiking a nightmare. Adjustable hip belts and sternum straps help spread the weight. Osprey and Gregory models are known for their lumbar support.
- Waist straps: Transfer load to hips, not shoulders
- Shoulder strap padding: At least 1.5 inches thick
- Load-lifter straps: Align pack to your back
Material and Durability
High-denier nylon is better at resisting abrasions. Look for welded seams and weatherproof zippers. Mountain Hardwear uses 210D nylon for durability without being too heavy.
- Denier rating: 210D-420D for balance between weight and durability
- Water resistance: DWR (durable water repellent) coatings
- Warranty length: 5+ years signals confidence in quality
Investing in a good backpack means less fatigue and more fun. Focus on these features to make your pack a reliable hiking partner.
Clothing Must-Haves for Backpacking
Choosing the right clothes makes your backpacking trip better. I focus on three key things: layering, functional fabrics, and clothes that work for any season.
Layering Techniques
I always use a three-layer system. It works well in cold weather and storms:
- Base layer: I wear merino wool (like Patagonia Capilene or Ibex) to keep sweat away
- Mid layer: Down jackets (such as Marmot Trestles or Primaloft) help control temperature
- Outer layer: I use waterproof shells (like The North Face Venture 2) for rain
Choosing the Right Fabrics
Choosing between synthetic and natural fibers is crucial. I choose:
- Merino wool: It’s good at keeping you warm and doesn’t smell
- Polyester blends: These dry fast, perfect for humid places
- Gore-Tex Pro Shell: It’s the best for staying dry in rain
Seasonal Clothing Considerations
My trips in the Pacific Northwest taught me a lot. Here’s what I learned:
- Summer: I wear lightweight nylon pants and mesh shirts
- Winter: I layer with Primaloft pants and wind masks
- Transition seasons: I pack convertible jackets like REI Co-op’s 3-in-1
Every fabric choice is important in backpacking. Making your clothes adaptable means they’re as reliable as your gear.
Cooking Gear for Backpacking Adventures
Choosing the right cooking gear is key. It makes sure meals are made quickly without taking up too much space or weight. Over the years, I’ve tried out systems like JetBoil’s canister stoves and MSR’s ultralight options. I look for ones that are both good at what they do and don’t take up too much room.

Portable Cooking Systems
Lightweight stoves are essential. Canister models like the JetBoil Flash or alcohol-based options for ultralight setups use fuel well. Look for systems that include both the burner and pot to save space. They should weigh under 12 ounces and boil water in under three minutes.
Food Storage Solutions
Bear canisters like the Ursack Detritus and odor-blocking bags keep food safe without adding weight. Use them with vacuum-sealed pouches to keep food dry. Good storage is part of smart travel gear planning. It helps avoid wildlife encounters and keeps food from spoiling.
Eating Utensils and Cookware
Titanium cookware from brands like GSI Outdoors is durable and light. A spork or foldable knife/mug combos save space. I prefer a 0.5mm titanium pot that fits inside my stove. Each piece should do more than one thing.
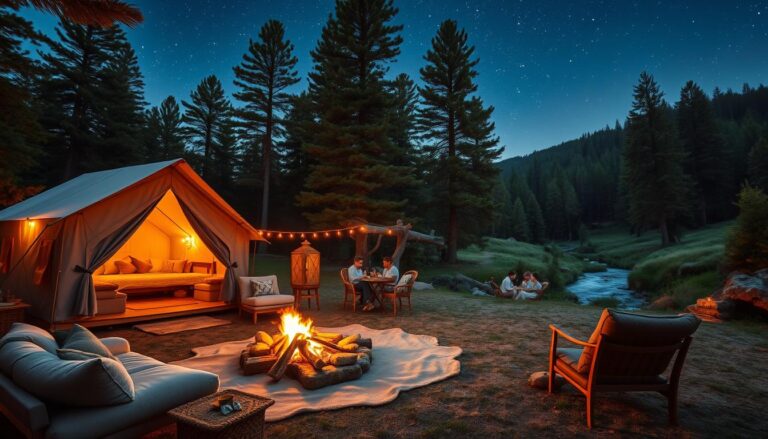
Camping Accessories You Can’t Forget
Even the best camping gear setups fall short without the right accessories. These small items often mean the difference between a smooth trip and a scramble for solutions. My go-to checklist includes lighting, eco-conscious supplies, and life-saving emergency tools that every backpacker should prioritize.
Lighting Options
Dark trails and cramped tent spaces demand reliable lighting. I rely on rechargeable headlamps like the Black Diamond Spot headlamp for hands-free use. A compact lantern with red light modes, such as the Goal Zero Lighthouse 400, preserves night vision during camp setup. Always pack extra batteries—AA or CR123A formats work best for multi-gear compatibility.
Eco-Friendly Toiletries
- Biodegradable soap: Dr. Bronner’s Pure-Castile formula cleanses skin and gear without harming ecosystems
- Wet wipes: Eco-Me’s compostable wipes replace bulky tissues
- Toothpaste alternatives: Georganics activated charcoal tooth tabs cut down on plastic waste
These products align with Leave No Trace principles while maintaining hygiene standards. My packing list always includes a mesh bag to store these essentials.
Emergency and First Aid Items
A compact first aid kit from Adventure Medical Kits 8-Person size covers blisters, cuts, and splinters. Add these extras:
- Signal mirror and whistle for visibility
- Fire starter cubes (e.g., UCO Fire Storm)
- Emergency blanket in a waterproof case
Last season, a forgotten first aid kit led to a 3-hour hike delay—now I triple-check these items before any trip.
Safety Gear and Considerations
Every backpacking trip needs reliable adventure equipment for safety. My years of exploring remote trails taught me that preparation is key. It turns uncertainty into confidence. Let’s look at what keeps you safe when the path gets unpredictable.
Navigation tools are your first defense. I always carry a Silva compass and a topographic map. Modern GPS devices like the Garmin inReach send SOS signals where cell towers don’t reach. Always check your tools before you go.
- Compass + map set (never rely solely on batteries)
- GPS device with satellite connectivity
- Laminated trail maps for your route
Emergency supplies should be as easy to reach as your water bottle. My kit includes a compact Adventure Medical Kits’ Wilderness First Aid pack, waterproof matches, and a mylar emergency blanket. A water filter like the Grayl Ultralight ensures hydration in critical moments. Store these in a brightly colored bag for quick access.
Safety plans turn into action steps:
- Share your itinerary with two contacts
- Check weather forecasts 48 hours pre-trip
- Practice using gear weekly before long trips
Investing in safety isn’t about fear—it’s about freedom. Properly tested navigation tools, life-saving emergency gear, and a clear plan let you focus on the adventure itself. Every piece of adventure equipment becomes a partner in your journey when chosen with intention.
Planning for Different Environments
Adapting your gear to your surroundings is key in backpacking. Over the years, I’ve learned that mountains, deserts, and forests each need their own setup. Here’s how I prepare for each landscape.

Mountain Backpacking Gear
Mountain trails are steep and weather can change fast. I rely on:
- Waterproof Osprey backpacks to keep gear dry
- Insulated layers like Patagonia’s Nano Puff jacket for quick temperature changes
- Trekking poles to help on uneven paths
Desert Hiking Essentials
In the desert, staying hydrated and protected from the sun is crucial. I always carry:
- 2L CamelBak reservoirs for easy water access
- SPF 50+ sunscreen and UPF-rated clothing to block UV rays
- Breathable fabrics like Danner boots to stay cool
Forest and Trail Gear
Forests need moisture-wicking layers and smart trail gear. I always bring:
- Waterproof Merrell Moab boots for muddy paths
- Compact tents with bug nets for dense areas
- Gaiters to keep pants clean on rocky trails
Budgeting for Backpacking Gear
Smart spending doesn’t mean you have to give up safety or comfort. When I started backpacking, I learned to balance costs without cutting corners. Here’s how to stretch every dollar wisely.
Finding Good Deals and Discounts
Start by tracking sales on sites like REI or Backcountry. Sign up for newsletters to catch flash sales. Thrift stores and outdoor gear swaps often hide gems like lightly used tents or sleeping bags. I saved 60% on a rainfly at a local gear swap last year.
Renting vs. Buying Gear
- Rent for one-time trips: Outdoors Collective offers seasonal rentals for technical items like crampons.
- Buy only for essentials: Prioritize durable gear like boots and packs that last years.
Prioritizing Your Purchases
Focus first on high-use items. A waterproof backpack cover (under $20) protects a $200 pack from rain damage. Borrow or rent specialty items like bear canisters for infrequent trips. My rule: invest in comfort-critical gear like sleeping pads—cheap ones lead to bad nights.
Maintenance and Care for Your Gear
Keeping your gear in good shape is key to its longevity. I make sure every item is ready for the next adventure. Neglecting maintenance can damage your gear and even compromise safety features.
Cleaning and Storing Backpacks
I clean my Osprey backpack with a damp cloth and mild soap after each use. I only wash it if absolutely necessary, following the brand’s guidelines. Storing it upright in a cool, dry spot helps it keep its shape. Never pack it when not in use.
Caring for Tents and Sleeping Gear
I brush off my tent outside before taking it down. Then, I air it out fully before storing it. I use The North Face’s stuff sack to keep it compact. My sleeping bags get washed with Nikwax tech wash every six months. I fluff them in a dryer with tennis balls to keep them puffy.
Long-Term Gear Management
I check my gear monthly for any damage. I fix small tears on my MSR tent right away. I replace my sleeping pads every three years and swap out items like bear canisters. A gear checklist helps me stay prepared at all times.
Maintenance is essential for a great adventure. Small steps today mean fewer problems later. Keeping your gear in top shape ensures it’s ready for any journey, whether in the Rockies or the desert.